The Science Museum’s exhibition Oramics to Electronica: Revealing Histories of Electronic Music charts the evolution of electronic music and details the fantastic lengths that its creators often went to in order to push the boundaries of sound. In the days before synthesisers, open source software and pirated soft-synths, electronic music pioneers such as Daphne Oram had very few resources with which to forge new and exciting sounds. The use and abuse of reel to reel tape players, and the splicing of magnetic tape were soon adopted by some of music’s most adventurous minds and became a vital weapon in their war against the sonically mundane. Composers such as Karlheinz Stockhausen and Terry Riley, and also the BBC Radiophonic Workshop were all keen tape splicers, stretchers and loopers.
Nowadays reel to reel tape players are hard to find and incredibly impractical to use. However, their dinky portable cousins, Walkmans, are easier to find, and cassettes are readily and cheaply available in most charity shops. Cassette tapes are fairly easy to modify too, and doing so provides a fun insight into the early development of electronic music and a chance to get in touch with its roots.
Making a tape loop is one of the easiest and most satisfying tape experiments that you can do, and it takes little more than a few bits of a stationery, a steady hand and half an hour of your time. The process is relatively fiddly and the results will be largely dictated by chance (exciting in itself!), but it’s all worth it for the thrill of feeling the spirit of early electronic music experimenters flowing through you. The results are somewhat unpredictable, but sometimes you stumble upon a perfect three or four second-long loop that you can listen to over and over without ever getting bored, its sound appearing change and alter over time…
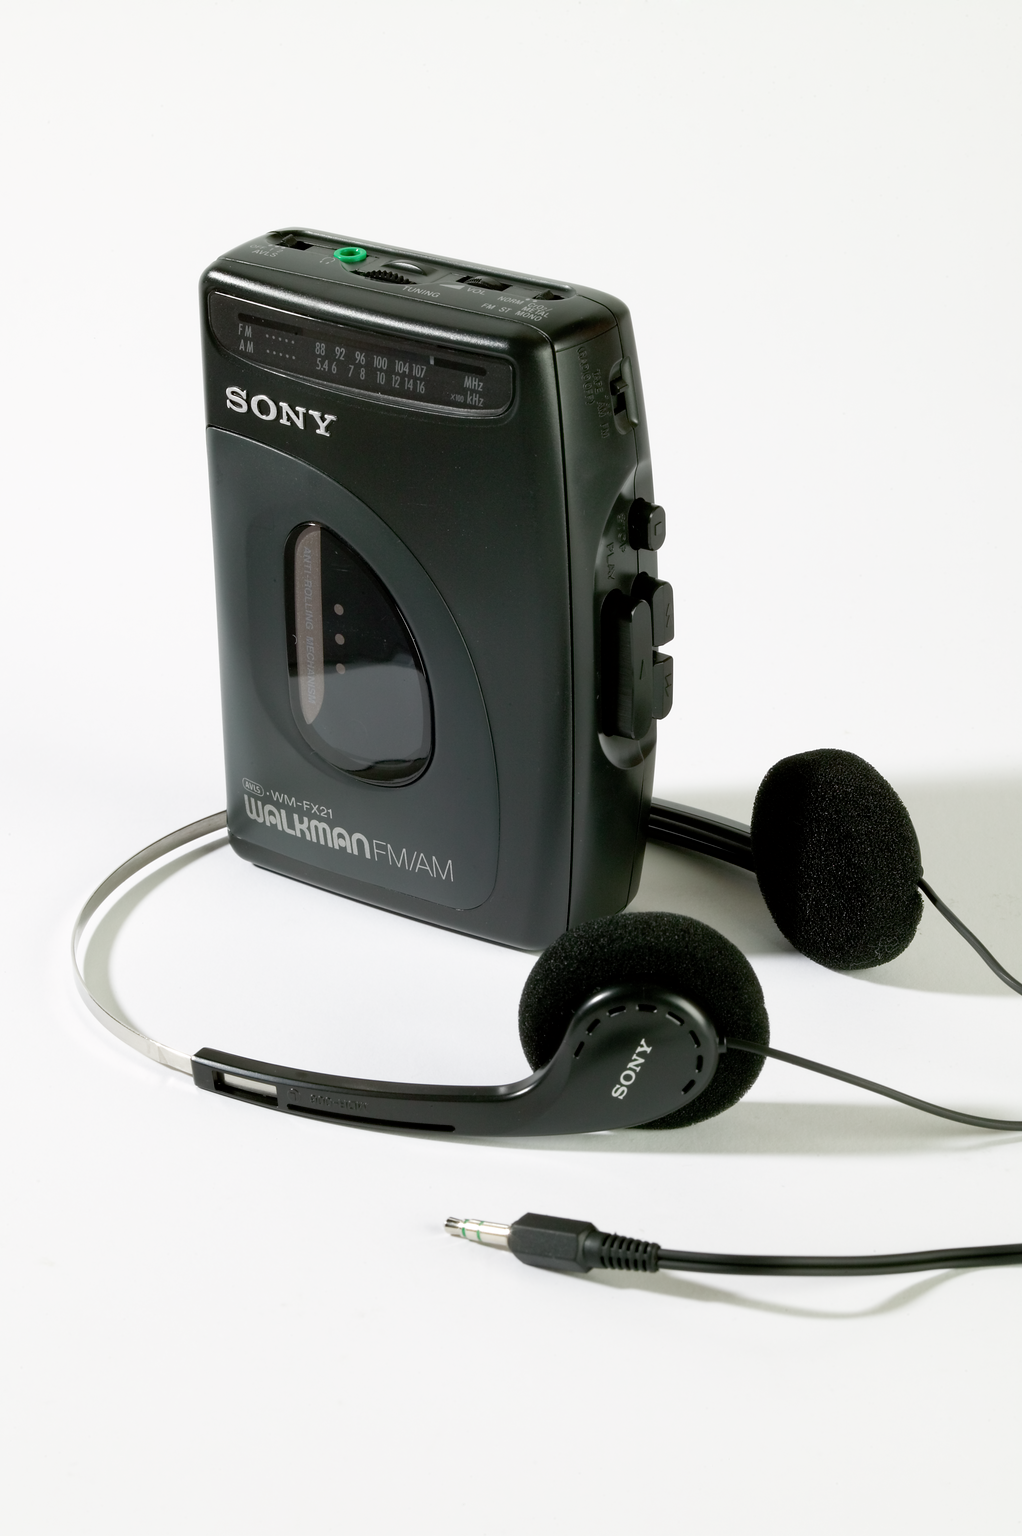
Step One:
Fish out an old Walkman from you or your parent’s attic shed or cupboard-under-the-stairs. Everyone has one lurking around somewhere.
Step Two:
Buy a cassette from your local charity shop. Do judge a book (cassette) by its cover, but make sure that you also check that it is held together with screws, as sealed plastic ones are much harder to open. I chose an Ottawan Best Of, partly because it had a great cover, and partly because there wasn’t much else to choose from. However, the cassette turned out to be sealed with plastic, so I had to resort to my backup choice, a home-recorded copy of the soundtrack to the (terrible) 1977 film Black Joy, one of the few examples of British Blaxploitation cinema.
Step Three:
Have a quick browse while you’re there.
Step Four:
Find a tidy place to work (this gets messy) and gather up all of the necessary equipment: a ruler, some sellotape, a pair of scissors and a screwdriver small enough for the cassette’s tiny screws. I have chosen the Science Museum curator’s library.
Step Five:
Take out the cassette’s screws, putting them carefully to one side.
Step Six:
Take off the top half of the cassette, being careful not to disturb any of its mechanisms (the funny metal bit at the front).
Step Seven:
Take out the tape and detach the ends from the white spools.
Step Eight:
Cut a 23.5cm chunk out of the tape.
Step Nine:
Carefully join the two ends of this strip of tape together with sellotape. It is worth taking your time over this bit as the smoother the join is the smoother the sound of the loop will be. Although conversely, sometimes a rhythmic clunk at the end of each repetition can be just what a loop needs to give it shape. I recommend using a tiny piece of sellotape on the underside of the tape and trimming off any excess.
Step Ten:
Carefully place the loop back inside the tape, hooking it around the four white spools: both the larger central pair and the smaller two on each side.
Step Eleven:
Position the tape so that it hooks around all of the spools but is also in front of the cassette’s metal mechanism. It must be held taut, or else it won’t play smoothly.
Step Twelve:
Close up the tape and re-screw the screws. Make sure that the tape is held behind these plastic teeth at the front and not trapped in them.
Step Thirteen:
Listen and enjoy!*

* As many great experimental musicians from Philip Glass to Mark E. Smith will tell you, repetition can be fascinating. As I have said, this process produces random results which vary in quality so you may have to fiddle around until you find something that works for you. But when you do stumble upon that perfect loop the results are extremely rewarding. And of course, this is only the beginning; there are many more modifications you can make, and who knows where you will end up once the spirits of Oram and Co. have gotten hold of you!
Robert Sommerlad is a musician and Science Museum research assistant.
13 comments on “Make Your Own Tape Loop”
Comments are closed.
Just pondering the importance of the 23.5cm length of tape?
Cheers,
Gotta make the perfect tightness to play through the cassette. Cassette’s must be that length to be taught I suppose.
i guess that’s exactly the length to make sure the tape holds tight in the cassette.
That’s just how long the bit of tape needs to be in order to make a taut loop!
Nice!
I haven’t looped cassette tape yet, but here is a loop I made last year using reel tape with multiple cuts, randomized (tossed in the air and taped together at random).
https://sites.google.com/site/hodgepodgestorage2/songs/53_Loops1.mp3
I added a half-twist before I closed the loop (Mobius strip) so it would play both sides of the tape. Some clips are played forward and some are reversed. The original material was an opera singer on one side and piano on the other, recorded in the mid-1950s. The fade at the end is the tape loop breaking.
Cool!
but what kind of equipment will let you play a Mobeius strip?!
I used a reel-to-reel player, so it wasn’t like a closed cassette. I just draped the loop in a big sort of triangle with the two reels at the base and a mic stand adjusted to hold the top of the loop tight-ish. The half-twist makes it play a side in one pass and the other in the next, and repeat.
Number nine…Number nine…Number nine…Number nine…Number nine…Number nine…Number nine…Number nine…Number nine…
I used to do this as a kid. Maybe that counts as the start of my passion, and I’m still learning. It must be done again! 🙂
I would cite Steve Reich before I would Philip Glass, when referring to magnetic tape loops! Reich’s tape reel phasing experiments were the advent of the school of minimalism, which Glass came across after witnessing a performance of Reich’s. I certainly wouldn’t call Glass the experimentalist in this case — he was the more “populist” of the two, I think.
Interesting.
On the past year, i made something similar but it was with a vhs tape.
https://vimeo.com/25112018
Cool!!