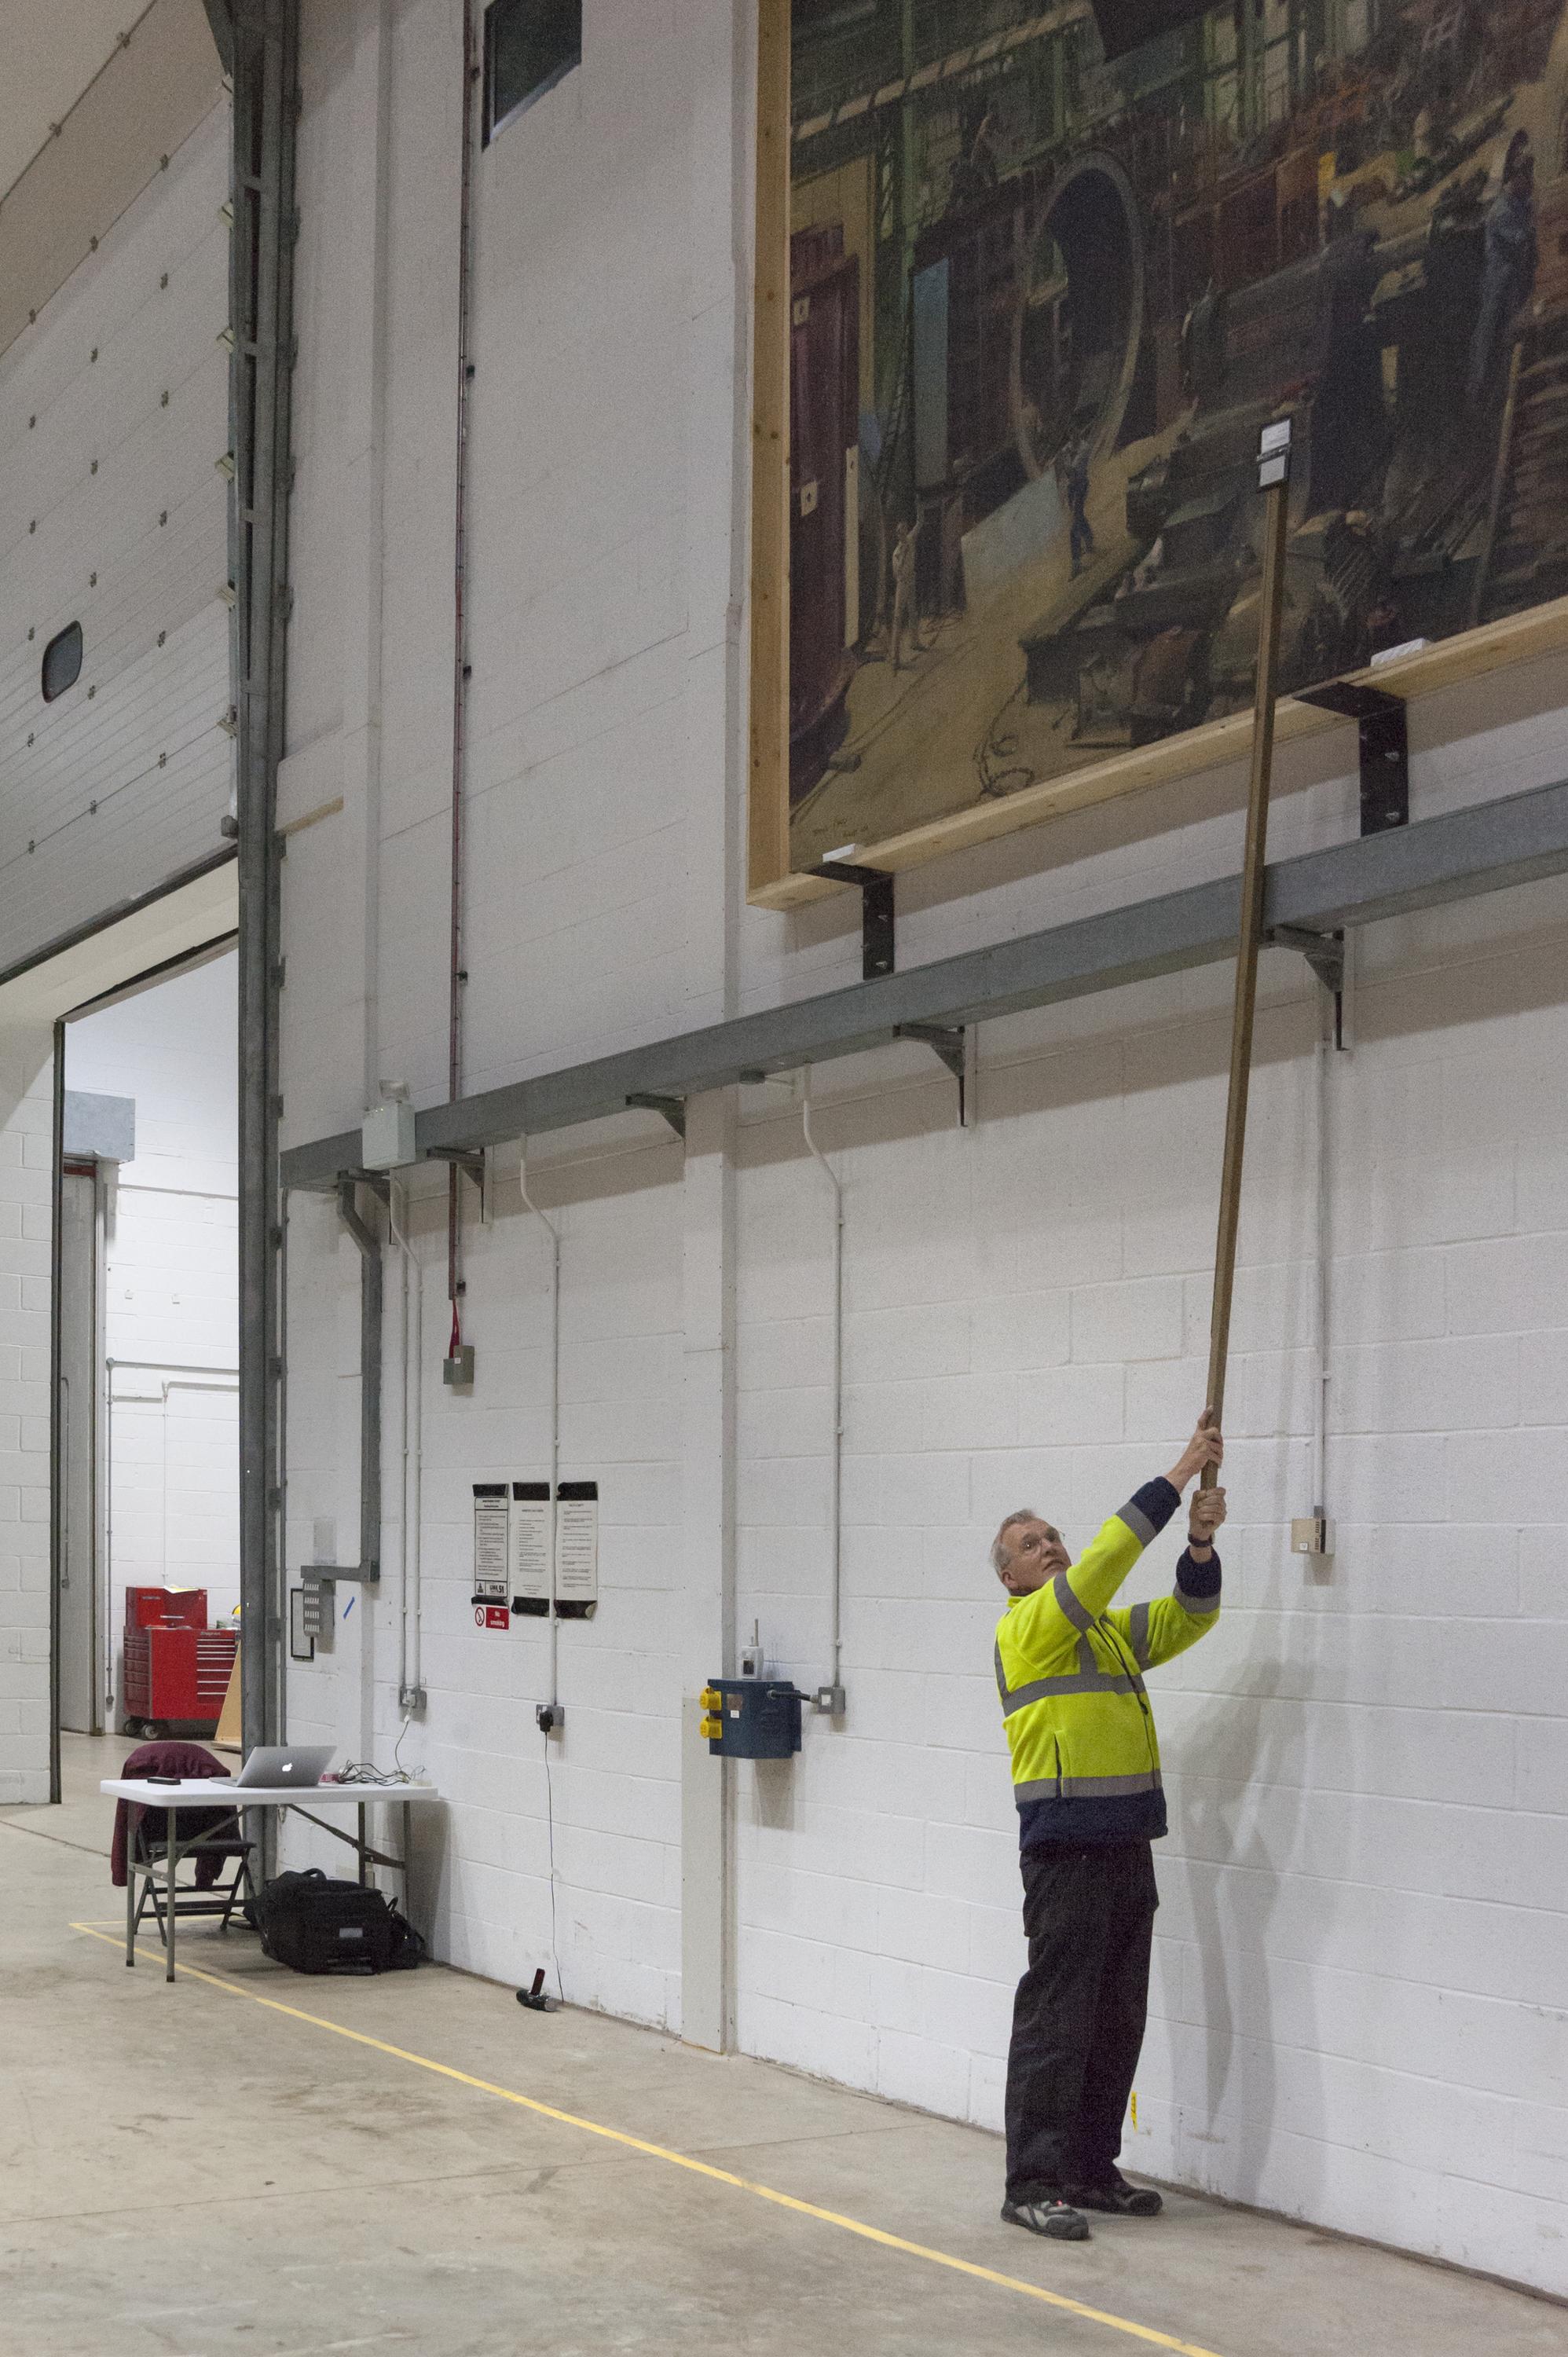
It isn’t often that my team and I are asked to photograph a large painting (3.4m by 4.9m to be exact) given that I work for the Science Museum. What made the request more surreal is that the painting in question was displayed on a wall in a warehouse.
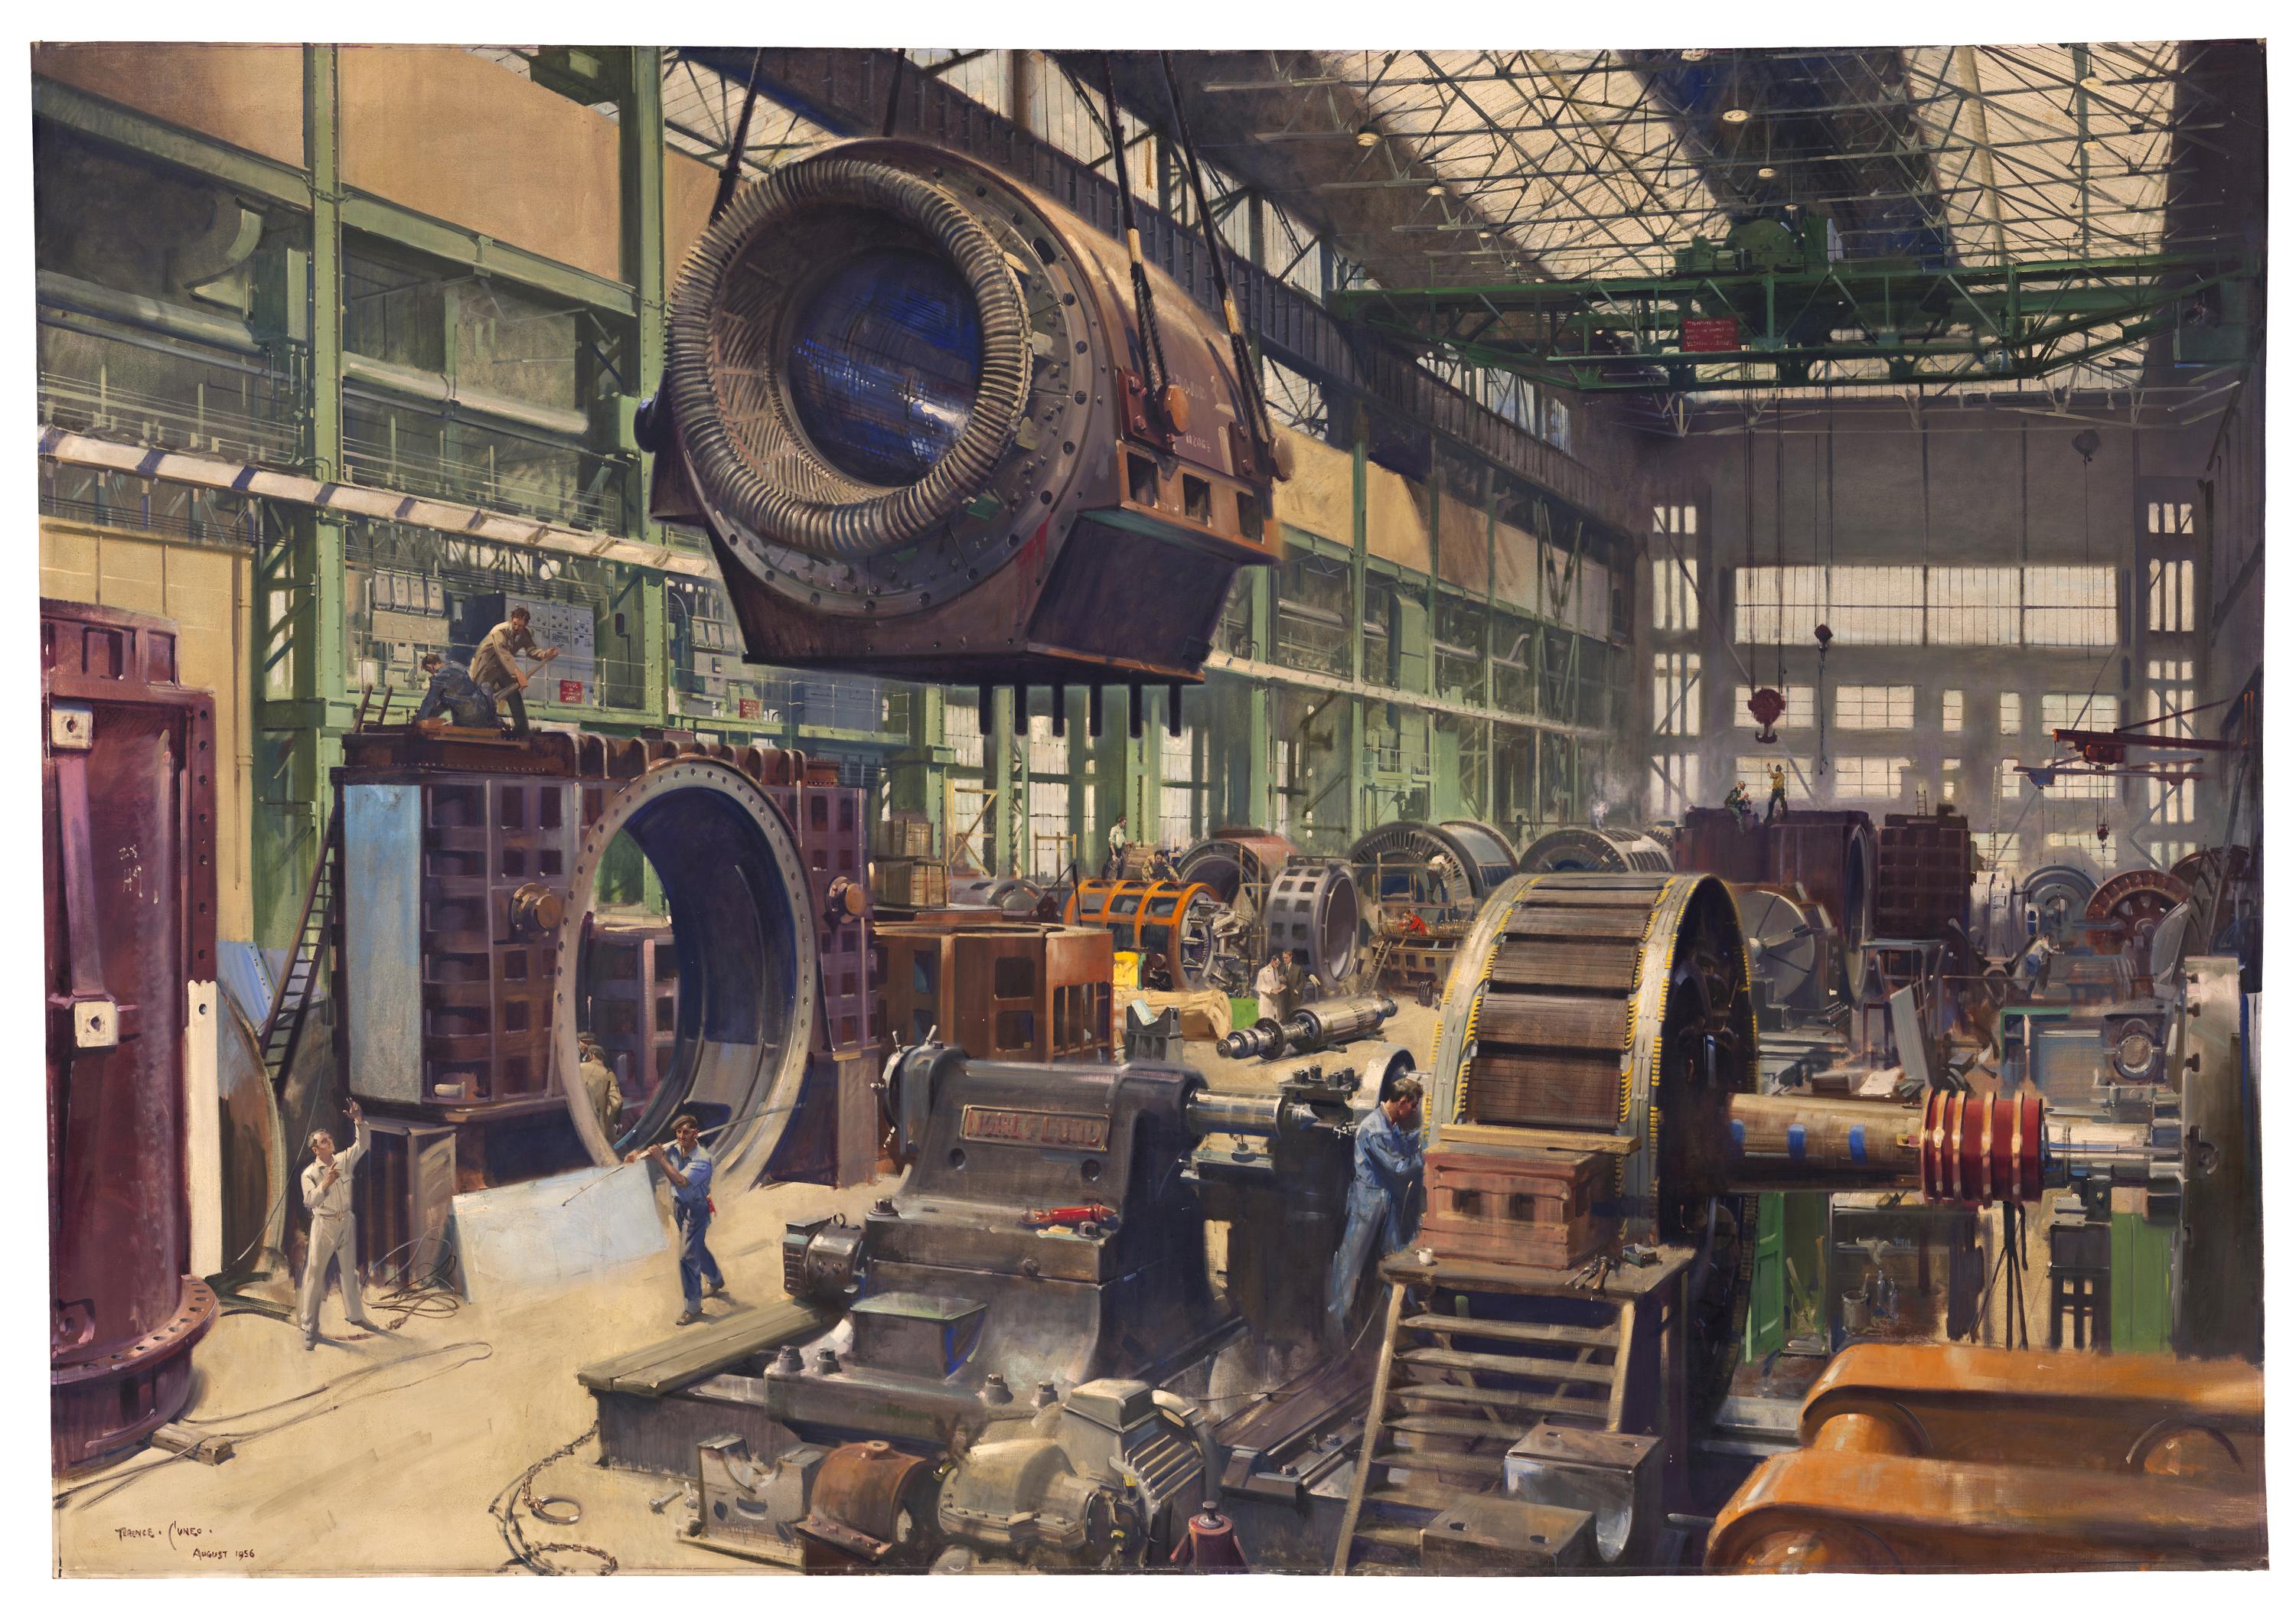
We originally received the photography request as the Science Museum Group planned to show the painting in the exhibition Painting Power: The Art of Terence Cuneo at the Brynmor Jones Library in Hull.
However, due to the painting’s large size it soon became clear that it could not feature in the exhibition. This made it even more important for me and my team to provide professional photographs of the painting, especially as it had not been seen by the public for more than thirty years.
To add another layer of complexity to our task we knew we needed to try and produce a replication that was high-resolution enough to do the painting justice and allow viewers to zoom in and explore Cuneo’s work in as much detail as possible.
As no conventional camera could provide the resolution we were after it was clear that the only way to achieve this was by photographing the painting in sections and then combining all the individual files into one final image.
There are two different methods to carry out this kind of photography. The first one is to keep the camera chip parallel to the painting’s surface at all times and move the camera from side to side and up and down keeping the same distance between painting and camera.
This is best achieved using a specialist rigging system as this method allows for very little margin for error. On the plus side it minimises image distortion and a fall-off in sharpness at the edges delivering a high-quality result.
The second method is to keep the camera in a fixed position in front of the painting. Then while remaining in this position at all times the camera is tilted and swivelled at different angles to capture the different sections.
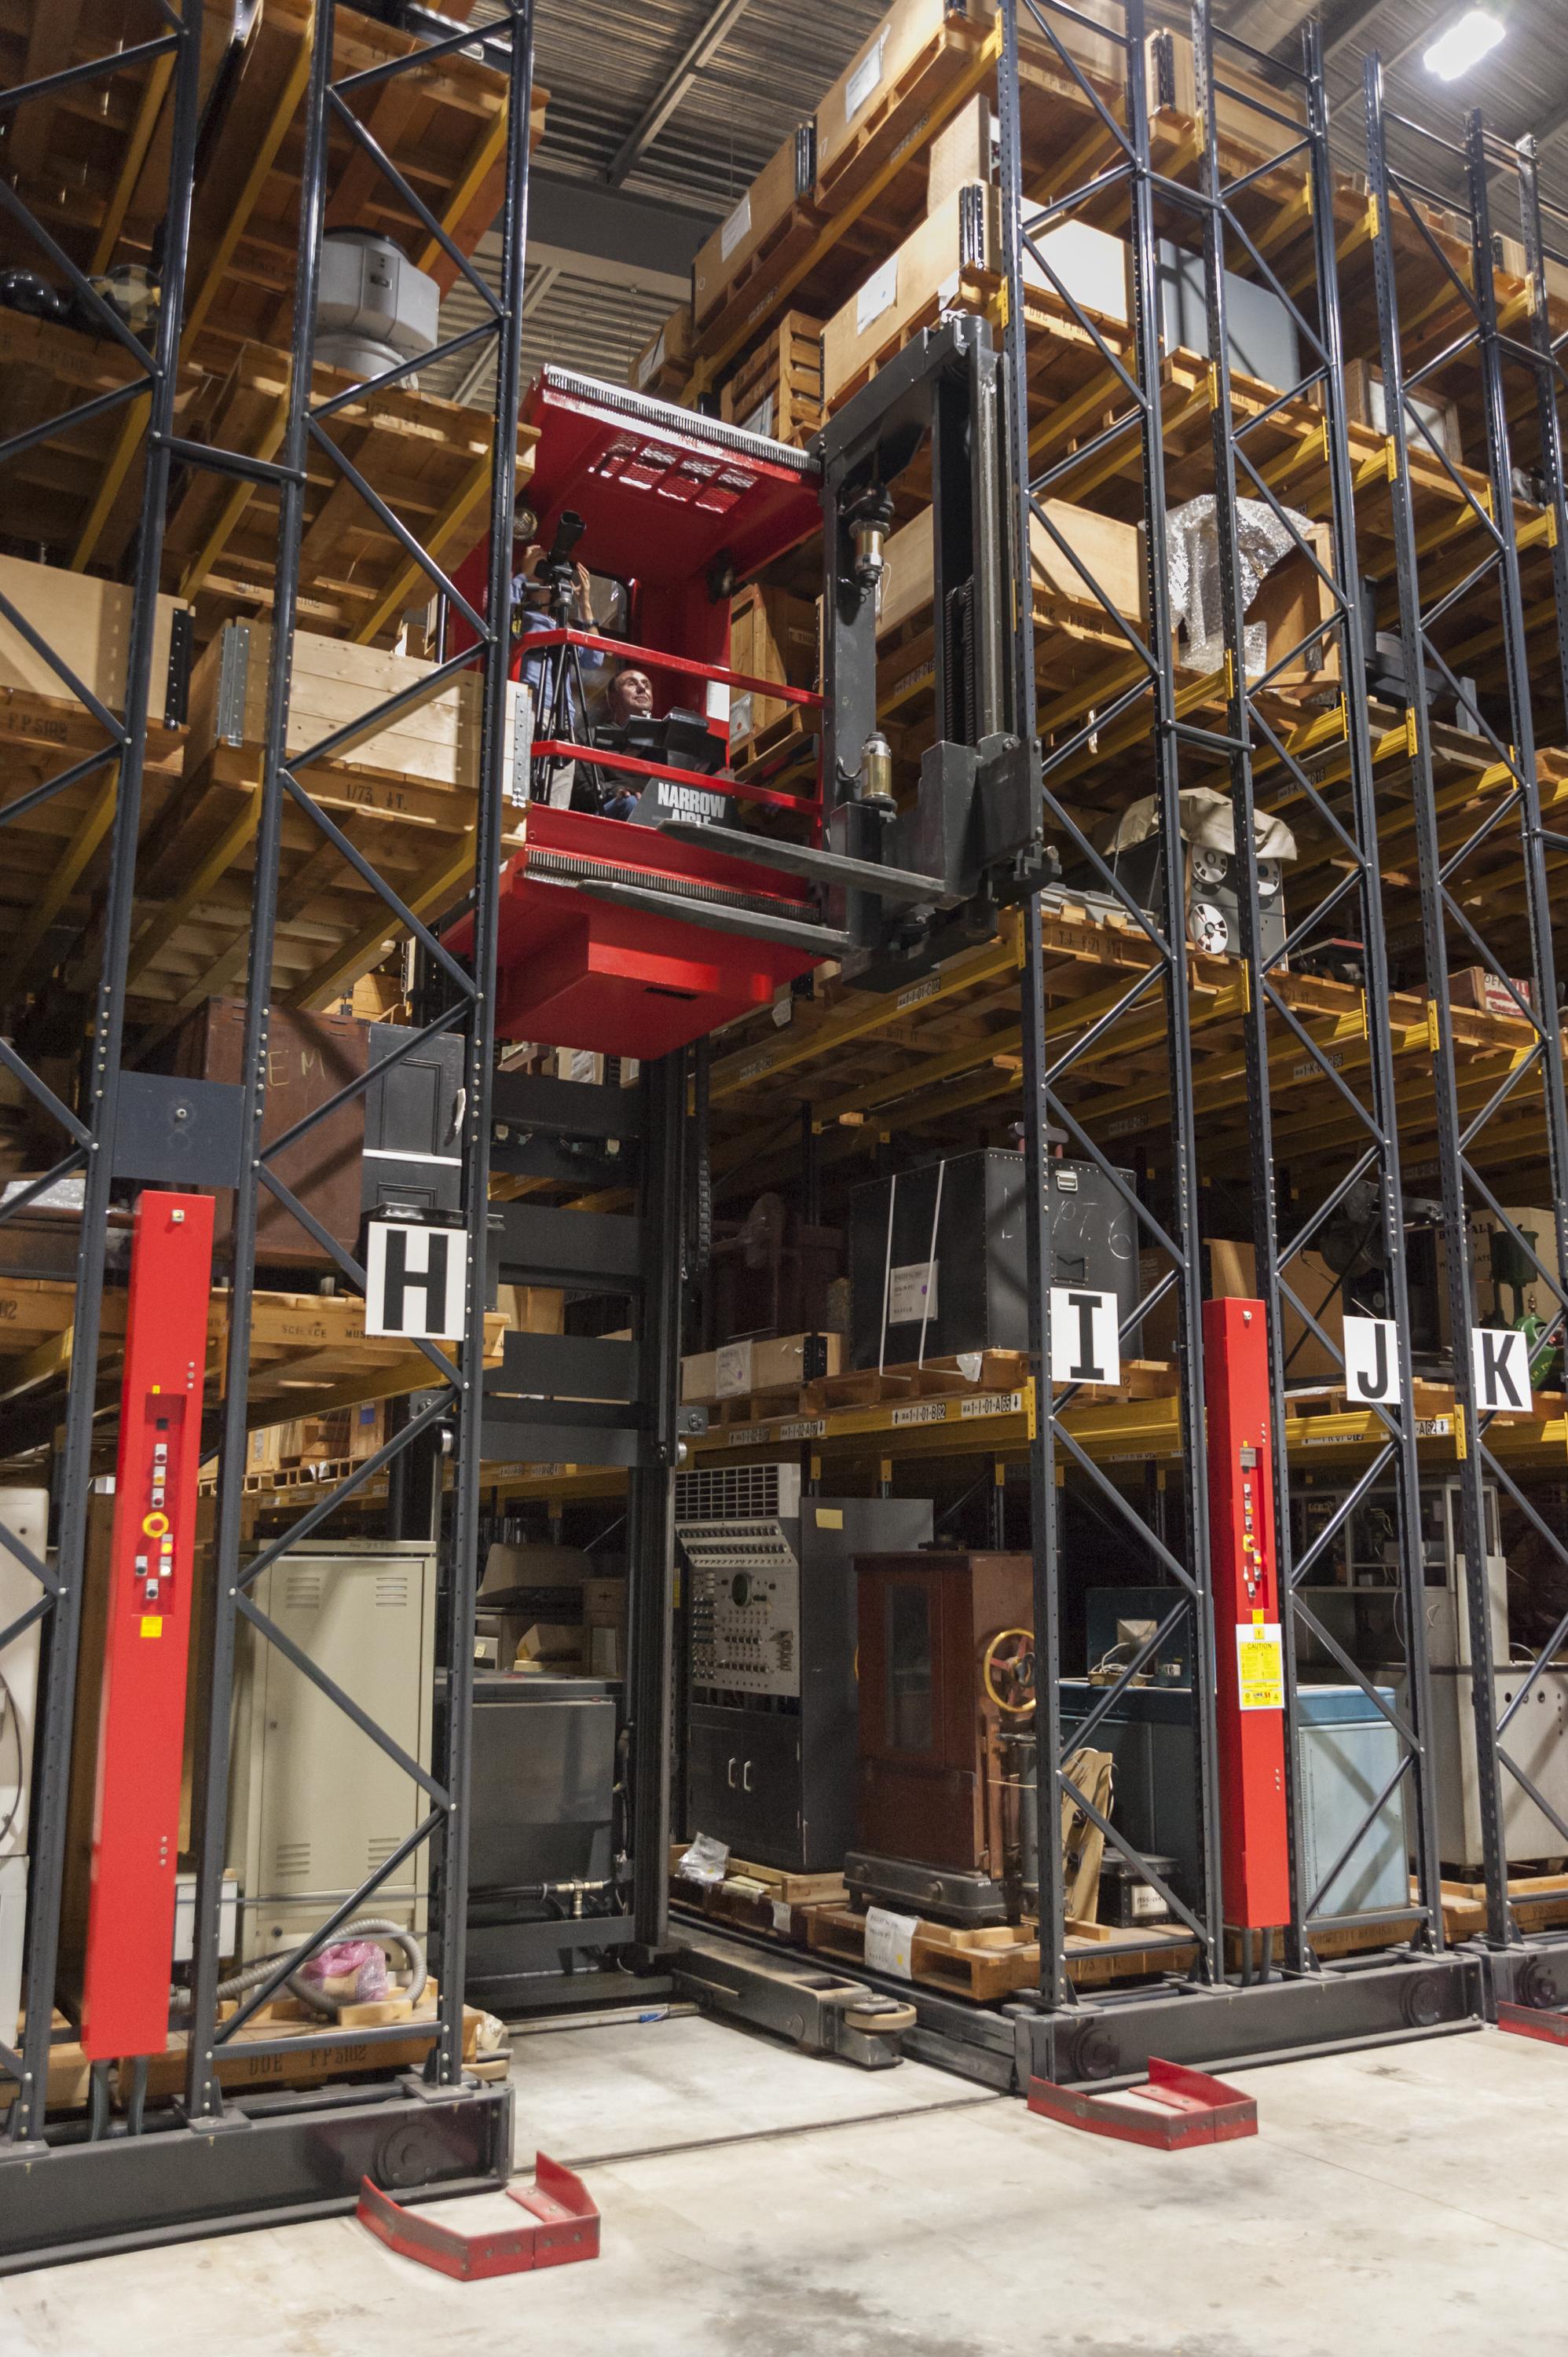
After careful consideration of resources and pros and cons of both methods we opted for the second option. Our colleagues in the conservation department were a great help, facilitating access to the painting and operating the narrow aisle truck. We only had a day to complete our task and needed to get going as soon as possible.
With one photographer on the ground and one photographer moving upwards in the truck’s cabin we started with a reference image capturing the painting in a single photograph.
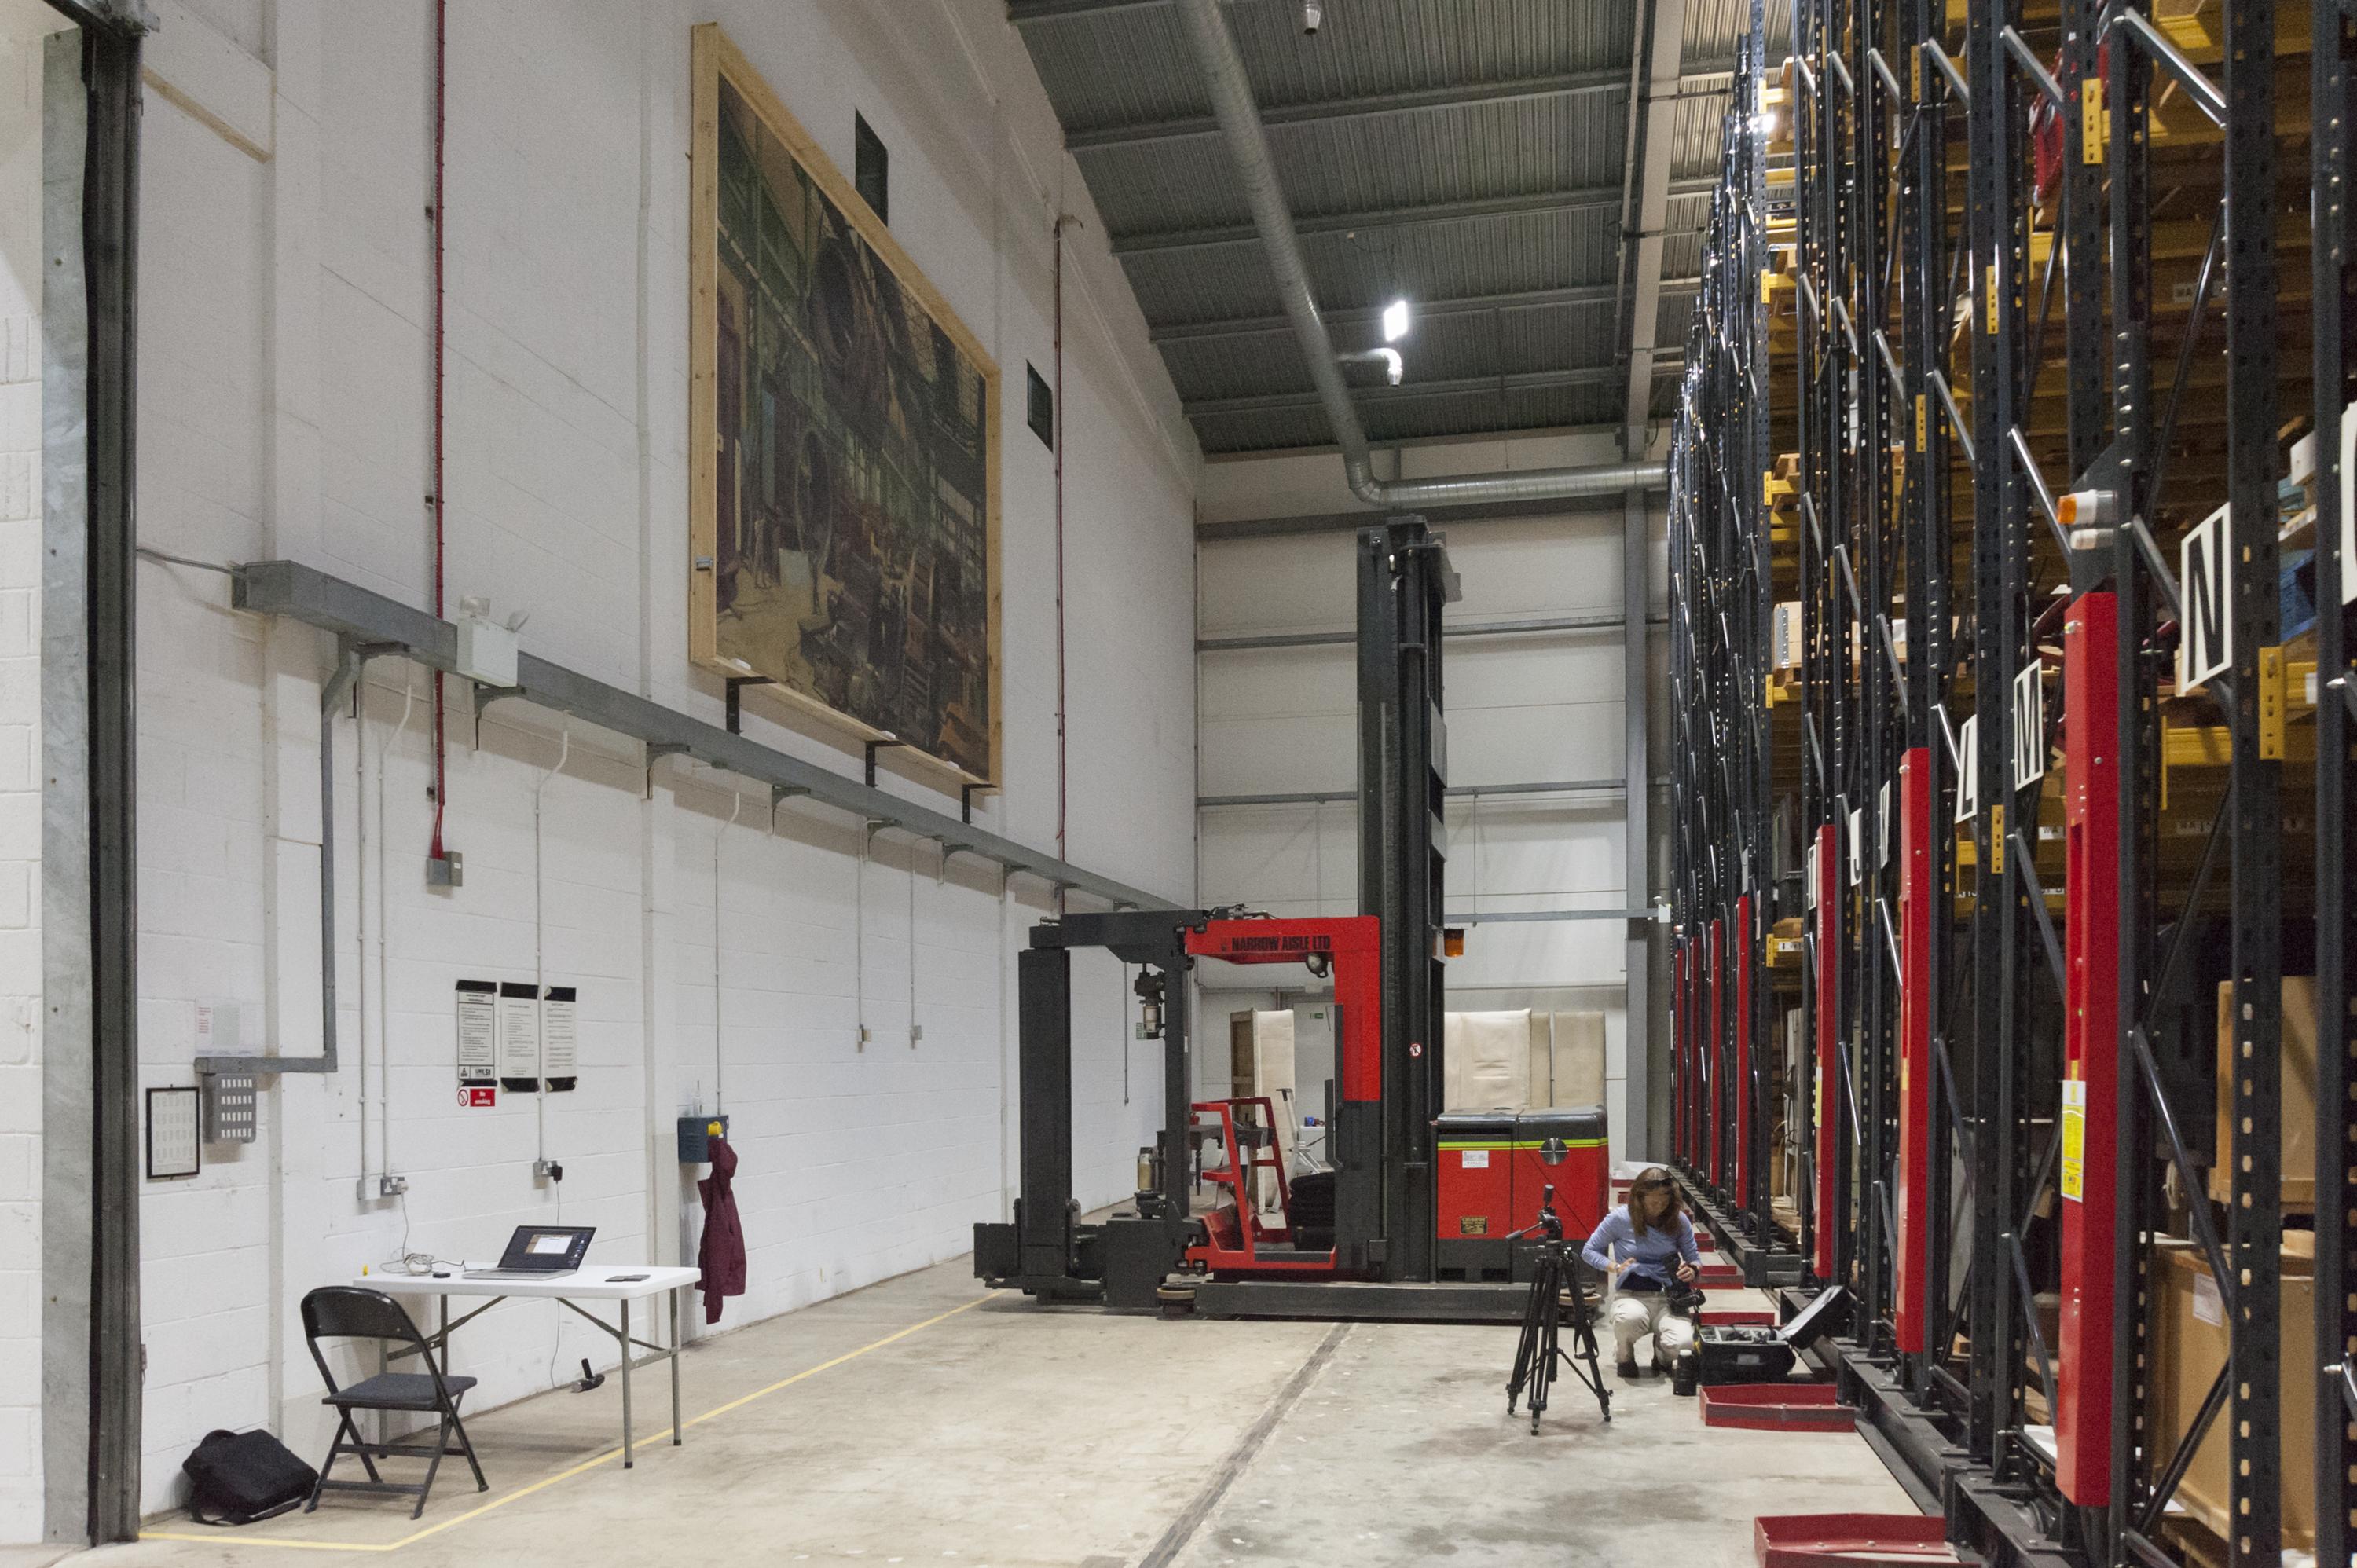
For this we needed to find a position that allowed us to have the camera as central to the middle of the painting and as far away from it as possible in order to minimise vertical and lateral lens distortion.
Luckily the storage shelves split right in front of the painting and the space was wide enough to allow us to drive back into the aisle giving us a prime focal length.
Once we had found the correct position and height we experimented with different exposures and most importantly made sure we had the correct white balance setting.
When we had meticulously prepared our shot it was time to raise the stakes and start photographing the painting in several sections.
We started with only six sections and an overlap of 50%. To make sure each image would align correctly, and to identify any issues the photographer on the ground started to post-produce the images straight away to allow us to adjust our capturing method if necessary.
For the final file we captured 36 images and carefully put them through post-production making sure we were staying as true to the reference image as possible.
The results exceeded our expectations as the largest stitched photograph was more than 14 times larger than the reference image thus allowing the viewer to experience Terence Cuneo’s painting in as much rich detail as possible.
Take a look at the final image on our collections page here.