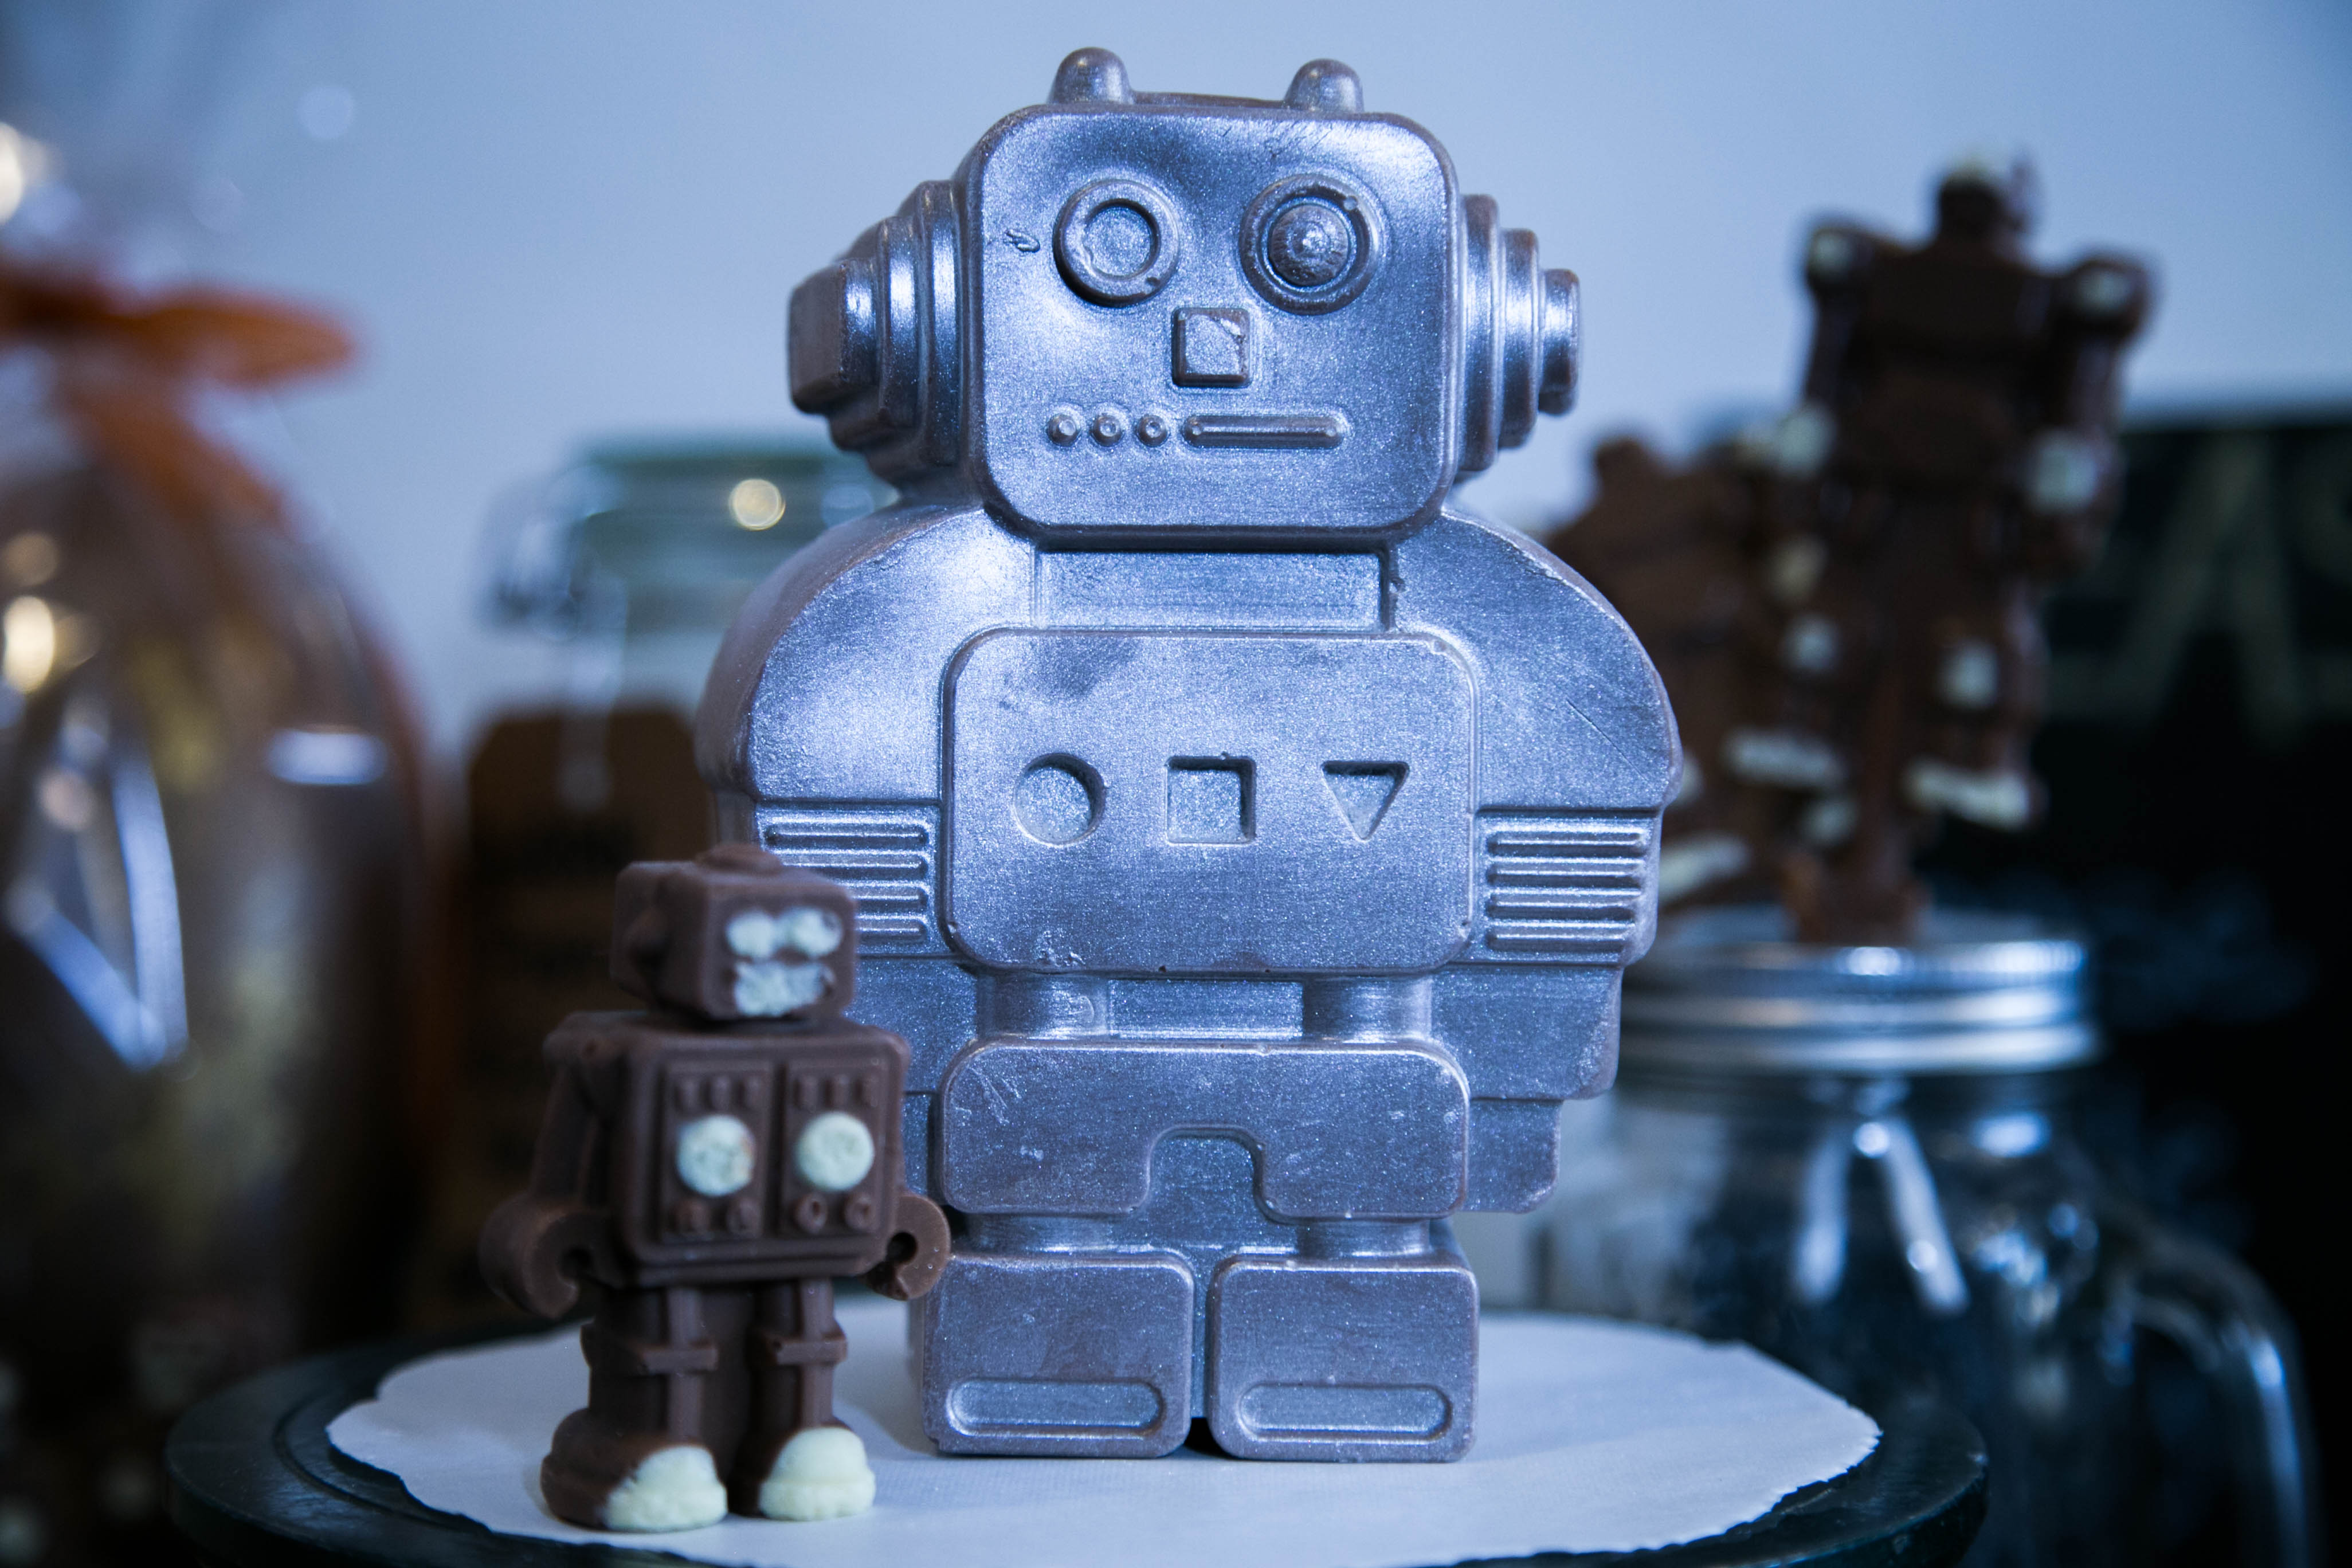
This Easter, we’ve partnered with the Chocolate Museum to make our very own Robot Easter Egg. Isabelle Alaya, Founder and Director of the Museum, explains the science behind the process and how you can become a chocolate chemist.
Did you know that in order to make chocolate glossy, smooth and silky in texture it has to be tempered? Chocolatiers have to manipulate the sugar and fat crystals within the cocoa butter by meticulously heating, cooling and agitating its molecular properties so the mixture crystallises into its most stable form. While the process may seem complex, everyone can become a chocolate chemist and temper their own chocolate at home. Here’s what you’ll need:
- Waterproof Thermometer probe
- Large bowl
- Small Saucepan
- Mixing spoon
- Cocoa butter based Chocolate for melting (couverture)
- ⅓ Extra chocolate for cooling
First, like all good chemists, be aware of your experiment surroundings and your equipment before you begin the process. Chocolate should be tempered in a cool, dry environment, as moisture and humidity can cause the sugar crystals to evaporate, leaving your chocolate with streaks and a gritty, matte texture. Keeping this in mind, make sure all your equipment is dry and shut your windows on a humid day.
 Take your saucepan and fill it with two inches of water to create a bain-marie. The trick is to ensure that when you place your large melting bowl over the pan the base does not touch the water, otherwise the chocolate at the bottom of the bowl will heat over boiling point and split, ruining its molecular structure.
Bring your water to a gentle simmer over a medium to low heat, fill your bowl with chocolate, place it over the saucepan, and leave it to melt for at least ten minutes. Many chocolatiers insist on leaving their chocolate to melt for at least one to two hours to completely separate the existing sugar and fat crystals, but letting your chocolate melt for at least ten minutes will still enable you to melt the appropriate crystals and get the shine and smooth texture you’re looking for in tempered chocolate.
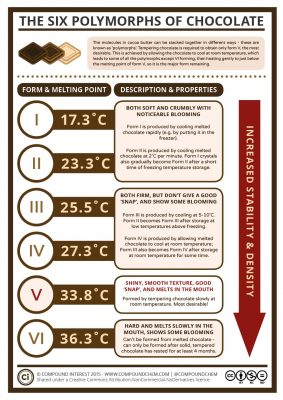
As your chocolate melts, the chemical changes in the cocoa butter begin to take place. Cocoa butter makes up 55% of what is extracted from the cocoa bean and its intricate molecular structure is what gives chocolate its enticing aroma and silky texture. Cocoa butter is believed to be made up of at least six different types of sugar and fat crystals each with their own melting temperatures, but only one, Form V (or the ẞ crystal form), is exactly right as it melts at body temperature and has a firm, stable and shiny texture that snaps when set.
Once fully melted, lift your bowl of melted chocolate off the heat. The crystals within the cocoa butter will now be fully separated. Now chocolatiers manipulate the crystallisation of the cocoa butter by controlling its cooling through a process called tempering.
The first step of tempering involves agitating the mixture to ensure that it quickly cools to a temperature between 27-28°C, causing part of the mixture to crystallise in a V formation. After this step, chocolatiers reheat the mixture to 31°C for milk (30°C for white, 32°C for dark chocolate). Through this process an inner grid of stable crystals are formed, leaving the chocolate perfectly shiny and with a crisp snap when broken. To speed up this method, chocolatiers often work on marble which has incredible natural cooling properties.
There is a simpler way to temper your chocolate at home using a process called the ‘seeding’ method. To temper chocolate by seeding you must agitate and cool the mixture by adding solid chocolate and mixing forcibly. It takes roughly an extra third of the amount of chocolate you melted to temper your chocolate perfectly. Check the chocolate’s temperature frequently as you add your additional chocolate in small pieces and mix them quickly into the bowl. Allow them to melt entirely before adding more. When you have reached the working temperature (31°C for milk, 30°C for white, 32°C for dark chocolate), you can start filing your desired mould, dipping, coating or drizzling.
To check your chocolate is tempered and ready to work with, you can dip a metal teaspoon into the bowl and wait to see how it dries. If the cocoa butter has crystallised into the desired V formation, the chocolate will set with an entirely glossy shine. Alternatively, if you rub the surface of the chocolate it should have a smooth texture that melts at body temperature.
‘Blooming’, a common problem in chocolate making, may occur during this tempering process. This is recognisable by any discoloured grey casting, streaks and spots in the chocolate and is by the fat crystals forming into an unstable crystal formation during the tempering process.
Blooming may also cause your chocolate to be noticeably rough in texture, often caused by high humidity or exposure to moisture. The surface sugar crystals will absorb the moisture and dissolve, after the moisture has evaporated the sugar will recrystallize into a different and larger crystal formation which is grainier in texture. But don’t worry, if this happens you can always remelt the chocolate and start the process all over again!
Happy chocolate making!
Visit Robots until 3 September 2017 with late night openings every Friday until 22.00.
If you would like to keep up to date with what’s happening at the Museum you can sign up to our email newsletter.